General Combat Tips
What is DC? (Difficulty Class)
DC is the target number you need to meet or beat with your roll. It represents how hard something is to do.
| DC | Difficulty | Example |
|---|---|---|
| 10 | Easy | Climb a ladder |
| 15 | Medium | Pick a simple lock |
| 20 | Hard | Identify a rare creature |
| 25 | Very Hard | Disarm a complex trap |
| 30+ | Extreme | Legendary feats |
d20 + your modifier → compare to DC → if result ≥ DC, you succeed!
Degrees of Success
Every check in PF2E has 4 possible outcomes:
| Result | How to Get It | What Happens |
|---|---|---|
| Critical Success | Beat DC by 10+ OR natural 20 upgrades success | Extra good effect (double damage, better outcome) |
| Success | Meet or beat DC | You succeed as expected |
| Failure | Below DC | You fail, usually no effect |
| Critical Failure | Fail DC by 10+ OR natural 1 downgrades failure | Extra bad effect (backfire, worse outcome) |
Natural 1 and Natural 20
- Natural 20: Your degree of success improves by one step (failure → success, success → critical success)
- Natural 1: Your degree of success worsens by one step (success → failure, failure → critical failure)
Example: Making a Check
Scenario: Aisa wants to Pick a Lock (DC 20). Her Thievery is +12.
- Rolls 3: 3 + 12 = 15. Below DC by 5 → Failure
- Rolls 8: 8 + 12 = 20. Meets DC → Success
- Rolls 18: 18 + 12 = 30. Beats DC by 10 → Critical Success (opens faster!)
- Rolls 1: 1 + 12 = 13. Below DC, AND nat 1 → Critical Failure (jams lock!)
The Rule of 10 (Why Debuffs Matter!)
- Beat DC by 10+ = Critical Success
- Fail DC by 10+ = Critical Failure
- Debuffing enemies increases your crit chance!
Elira casts Frightened 2 on enemy → their AC drops to 20.
Now you need 8+ to hit, 18+ to crit. Your crit chance doubled!
Action Economy
Every character has 3 actions per turn. Use them wisely:
- Multiple Attack Penalty: -5 second attack, -10 third attack
- Better pattern:
Attack → Skill Action → Move - Use Aid action to give allies +1 to +4 bonus
Powerful Skill Actions
| Action | Skill | Effect |
|---|---|---|
| Demoralize | Intimidation | Frightened (debuff everything) |
| Trip | Athletics | Prone + Flat-footed |
| Feint | Deception | Flat-footed for your attacks |
| Recall Knowledge | Various | Learn enemy weaknesses |
| Create Diversion | Deception | Become Hidden mid-combat |
Demoralize - Intimidation in Combat
Demoralize (1 action) is one of the best skill actions in the game. Roll Intimidation vs target's Will DC:
| Result | Effect |
|---|---|
| Critical Success | Frightened 2 |
| Success | Frightened 1 |
| Failure | No effect |
| Critical Failure | No effect, +4 bonus to target for 1 min |
Why Demoralize is So Good
Frightened reduces ALL checks and DCs by its value - attacks, AC, saves, skills, spell DCs:
- Enemy AC drops = easier to hit (helps Miyako, Aisa, Shtar)
- Enemy saves drop = easier to land spells (helps Elira, Ash)
- Enemy attack drops = less damage to the party
- No MAP penalty - perfect as 1st or 3rd action
Party Intimidation Ranking
| # | Character | Intimidation | Proficiency |
|---|---|---|---|
| 1 | Elira | +14 | Expert |
| 2 | Ash | +11 | Trained |
| 3 | Miyako | +10 | Trained |
| 4 | Shtar | +10 | Trained |
| 5 | Aisa | +1 | Untrained |
Demoralize Tactics
- Elira (+14 Expert) - best in the party. Demoralize + spell in the same turn
- Ash (+11) - Demoralize when not healing. Ashes curse synergizes with fear
- Miyako (+10) - Demoralize instead of 3rd attack (avoid MAP -10)
- Shtar (+10) - Demoralize while reloading (Reload + Demoralize + Strike)
- Aisa (+1) - better off using Feint than Demoralize
Focus Fire
Hero Points (non-mythic)
Standard PF2E characters get Hero Points for rerolls. GM awards 1-2 per session per player.
Quick Reference Tables
Conditions
| Condition | Effect | How to Remove |
|---|---|---|
| Frightened X | -X to all checks and DCs | Reduces by 1 at end of turn |
| Sickened X | -X to all checks and DCs | Fortitude save as 1 action |
| Flat-footed | -2 AC | Depends on source |
| Prone | -2 Attack, Flat-footed vs melee, +2 AC vs ranged | Stand up (1 action) |
| Stunned X | Lose X actions | Automatically expires |
| Slowed X | Have X fewer actions | Depends on source |
| Enfeebled X | -X to STR attacks and damage | Depends on source |
| Clumsy X | -X to AC, Reflex, DEX attacks | Depends on source |
| Dazzled | All creatures are concealed (DC 5 flat check) | Depends on source |
| Blinded | All terrain is difficult, all creatures hidden | Depends on source |
| Grabbed | Immobilized + Flat-footed | Escape action (Athletics/Acrobatics) |
| Restrained | Immobilized + Flat-footed + -2 Attack | Escape action (harder DC) |
Basic Actions
| Action | Cost | Effect |
|---|---|---|
| Strike | 1 action | Make a weapon attack |
| Stride | 1 action | Move up to your Speed |
| Step | 1 action | Move 5 ft without triggering reactions |
| Raise Shield | 1 action | +2 AC until next turn |
| Stand | 1 action | Get up from Prone |
| Take Cover | 1 action | Improve cover by one step |
| Crawl | 1 action | Move 5 ft while Prone |
| Escape | 1 action | Break free from Grabbed/Restrained |
| Ready | 2 actions | Prepare action for a trigger |
| Delay | Free | Delay your turn in initiative |
Multiple Attack Penalty (MAP)
| Attack # | Standard | Agile Weapon |
|---|---|---|
| First | +0 | +0 |
| Second | -5 | -4 |
| Third+ | -10 | -8 |
Attack of Opportunity (AoO)
| Triggers AoO | Doesn't Trigger AoO |
|---|---|
| Stride (moving out of reach) | Step (5 ft careful move) |
| Stand up from Prone | Crawl while Prone |
| Manipulate actions (drink potion, reload) | Concentrate actions (most spells) |
| Ranged Strike in melee | Cast spell without Manipulate trait |
Common Reactions
| Reaction | Who Has It | Trigger |
|---|---|---|
| Attack of Opportunity | Fighters, some champions, monsters | Manipulate/Move in reach |
| Shield Block | Anyone with raised shield | Take physical damage |
| Champion's Reaction | Champions (Miyako) | Ally takes damage nearby |
| Reactive Strike | Some monsters | Same as AoO |
Damage Types
| Category | Types |
|---|---|
| Physical | Bludgeoning, Piercing, Slashing |
| Energy | Fire, Cold, Electricity, Acid, Sonic |
| Alignment | Spirit (holy/unholy), Vitality, Void |
| Other | Mental, Poison, Bleed, Precision |
Cover
| Cover Type | AC Bonus | Reflex Bonus |
|---|---|---|
| Lesser Cover | +1 | — |
| Standard Cover | +2 | +2 |
| Greater Cover | +4 | +4 |
Visibility & Detection
| State | Effect | To Hit |
|---|---|---|
| Observed | Enemy sees you normally | Normal attack |
| Concealed | Fog, dim light, blur | DC 5 flat check or miss |
| Hidden | Enemy knows your square but can't see you | DC 11 flat check or miss |
| Undetected | Enemy doesn't know where you are | DC 11 + guess correct square |
| Invisible | Can't be seen at all | Hidden (DC 11) + no AoO |
Rest & Recovery
| Activity | Time | Effect |
|---|---|---|
| Treat Wounds | 10 min | DC 15 = 2d8, DC 20 = 2d8+10, DC 30 = 2d8+30 |
| Refocus | 10 min | Regain 1 Focus Point |
| Short Rest | 10 min | Treat Wounds + Refocus |
| Long Rest | 8 hours | Full HP, reset spell slots, remove fatigued |
Mythic Points & Rewrite Fate
What are Mythic Points?
Mythic Points (MP) are a special power pool for mythic characters. They replace Hero Points - if you have MP, you don't get HP.
| Parameter | Value |
|---|---|
| Pool per session | 3 MP |
| Maximum | 3 MP (you can't have more) |
| Reset | At the start of each session |
Rewrite Fate - Reroll with Mythic Proficiency
The main ability of mythic characters. Allows you to reroll a failed check with a better bonus.
Cost: 1 Mythic Point
Effect: Reroll with mythic proficiency (10 + character level)
Example: Rewrite Fate in Action
Scenario: Ash (level 6) must make a Will save against a Fear spell. DC = 22.
Step 1 - Normal roll:
Will save = d20 + proficiency + character level + WIS = d20 + 4 + 5 + 3 = d20 + 12
Ash rolls d20 and gets 3. Result: 3 + 12 = 15. Failure!
Step 2 - Rewrite Fate (cost 1 MP):
Reroll = d20 + mythic proficiency = d20 + 10 + 5 (character level) = d20 + 15
Ash rolls d20 again and gets 8. Result: 8 + 15 = 23. Success!
Mythic Proficiency by Level
| Character Level | Mythic Proficiency |
|---|---|
| 1 | 10 + 1 = +11 |
| 5 | 10 + 5 = +15 |
| 10 | 10 + 10 = +20 |
| 15 | 10 + 15 = +25 |
| 20 | 10 + 20 = +30 |
Recovering Mythic Points
| Action | MP Recovered |
|---|---|
| Killing a mythic enemy (you deal the final blow) | +2 MP |
| Killing a mythic enemy (rest of the party) | +1 MP |
| Completing a mythic deed | +3 MP |
| Acting in line with your Calling (edicts) | +1 MP |
| Legendary accomplishment | +1+ MP (GM decision) |
Other Uses of Mythic Points
- Prescience (1 MP) - Initiative = 10 + character level, +1 AC/saves 1st turn
- Mythic Spells - Enhanced versions of spells
- Mythic Feats - Special abilities
- Mythic Items - Artifact activation
When to Use Rewrite Fate?
- Failure means death or serious consequences
- Your normal bonus is low (e.g., weak save)
- You rolled very low (1-5 on d20)
- Failure has minor consequences
- Your normal bonus is already high
- You only have 1 MP left and might need it later
Miyako Nakamura
Your Primary Role
You are the party's shield. Your job is NOT just to deal damage, but to:
- Position yourself between enemies and squishies (Elira, Shtar)
- Use Champion's Reaction to protect allies
- Control space and draw enemy attention
Champion's Reaction
This is your most important ability. Depending on your cause:
- Liberator: Ally can Step away when damaged
- Paladin: Reduce damage + strike the enemy
- Redeemer: Reduce damage + enfeeble enemy
Reactive Shield
Use this when YOU are attacked. Raise Shield as a reaction for +2 AC before the attack resolves.
Positioning Guide
- Start combat by moving to the front line
- Create a "wall" between enemies and casters
- Don't chase enemies - let them come to you
- Stay mobile enough to intercept flankers
Action Economy
| Turn Type | Action Pattern |
|---|---|
| Opening | Stride → Raise Shield → Strike (or Demoralize) |
| Engaged | Strike → Strike → Raise Shield |
| Protecting | Stride to ally → Raise Shield → Ready action |
Level 6 Abilities
- Smite (1 action): Designate an enemy — your Strikes deal +3 damage until your next turn. If the target attacks you or an ally, the effect extends. Use this on bosses!
- Marshal Dedication: You project a 15-ft aura granting +1 status to saves vs fear to you and allies. Always active while conscious — stack with Champion's Aura!
- +2 Striking Warhammer (+16): Your new primary weapon. Higher attack bonus than Meteor Shield, deals 2d8+4 B. Use Warhammer for damage, Meteor Shield for defense turns.
- +1 Resilient Full Plate: +1 item bonus to ALL saves. Your Fort is now +15!
- Correct the Story (Reaction, 1 MP): When an enemy crits an attack or save, force a reroll. Save for devastating crits against allies.
Synergy with Party
- Aisa: Set up flanking positions together — Gang Up means she only needs one ally nearby
- Elira/Ash: Stay close enough for your Champion Reaction + Marshal aura protects them from fear
- Shtar: Draw enemies away from his position, Aim-Aiding armor means you don't block his shots
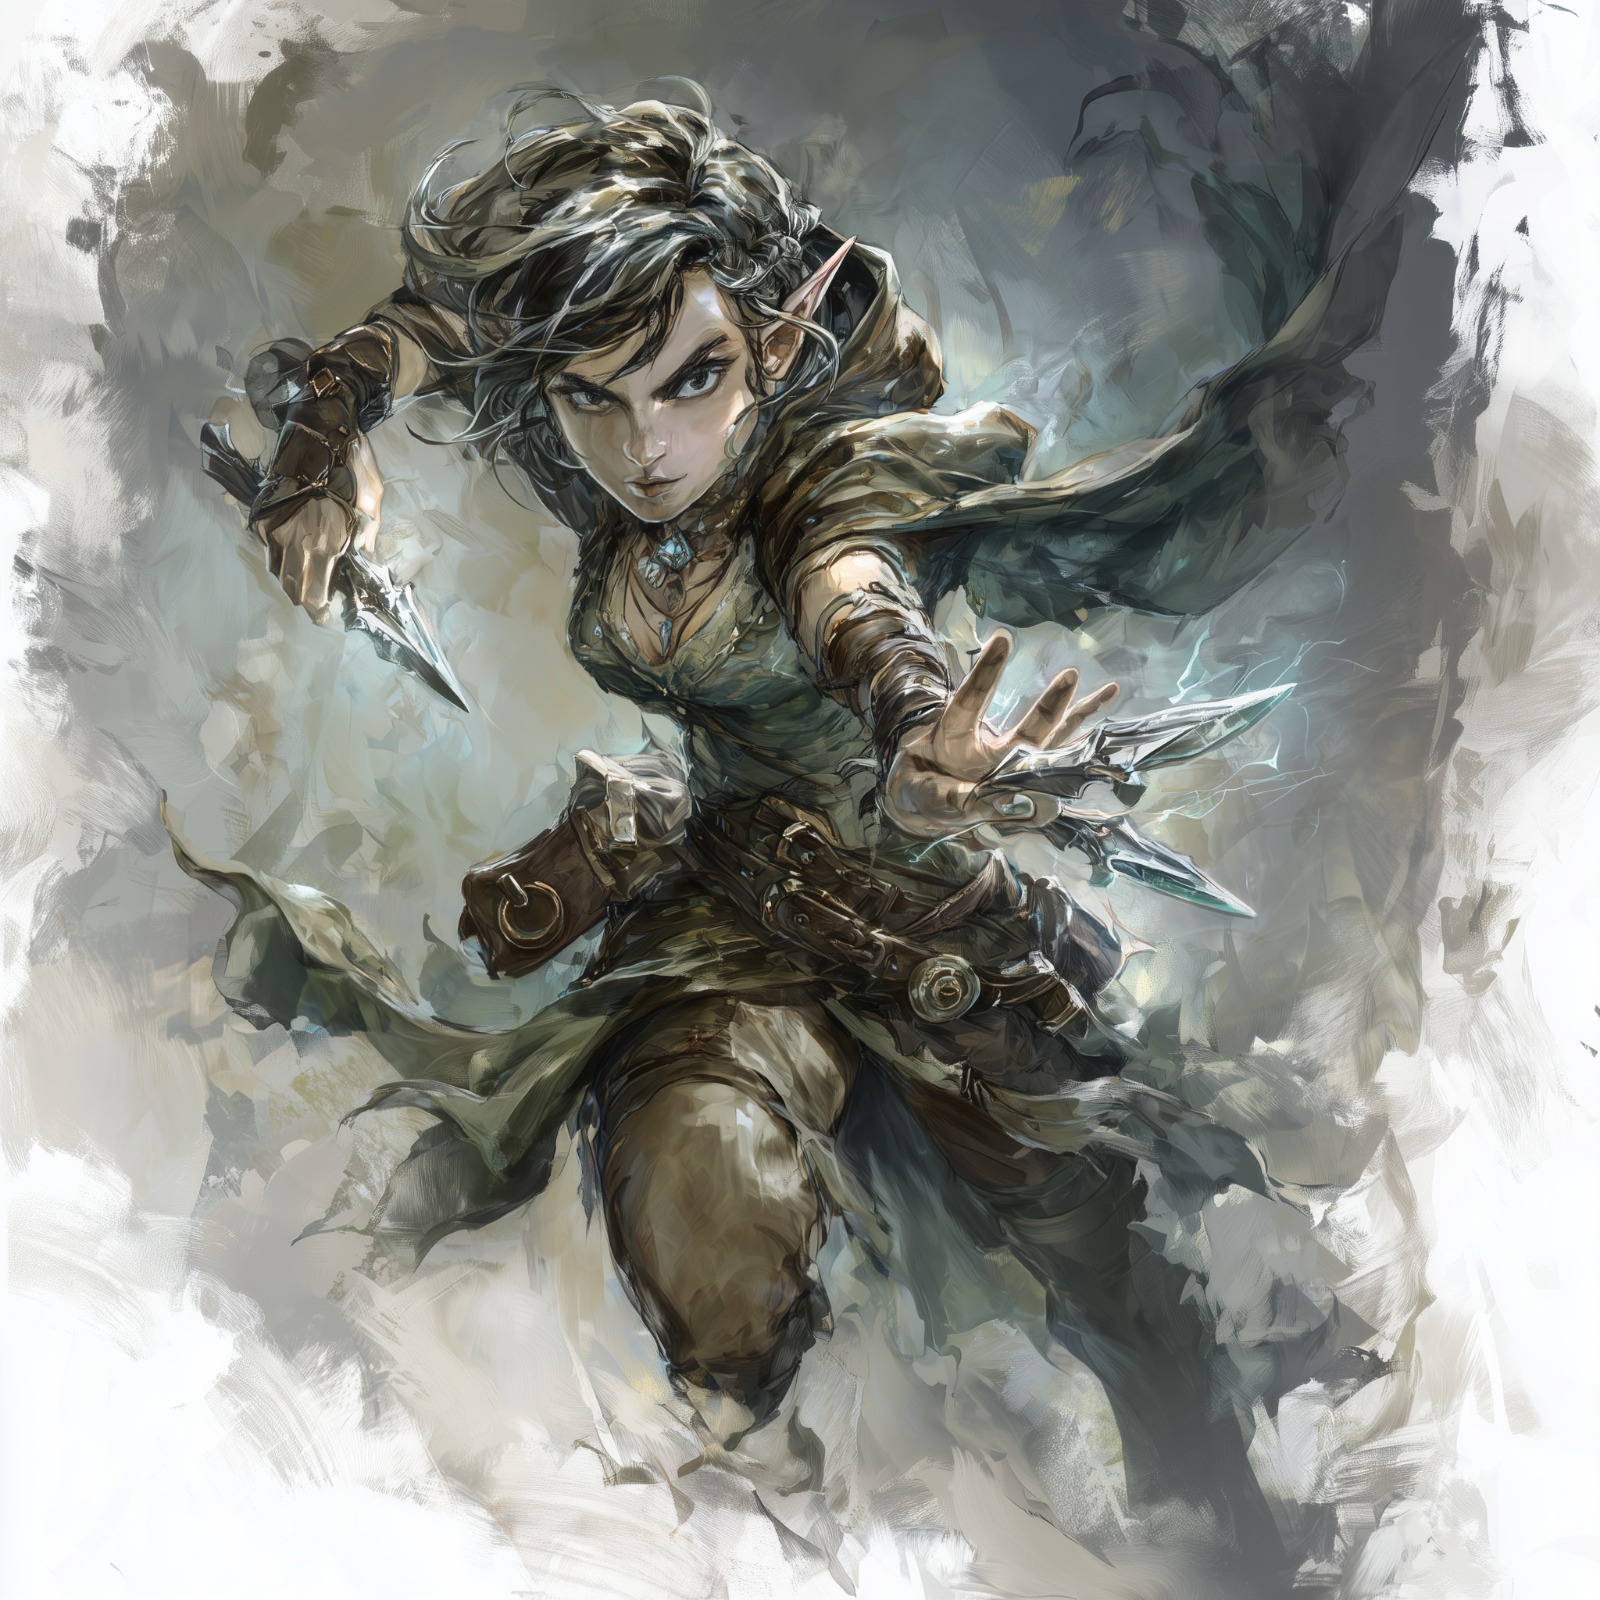
Aisa
Sneak Attack is Everything
You deal bonus precision damage when target is flat-footed to you. Get flat-footed by:
- Flanking - You and ally on opposite sides
- Feint - Deception check, flat-footed until end of your next turn
- Hidden/Invisible - Create Diversion or magic
- Prone enemies - After Trip or knockdown
- Ally debuffs - Elira's spells, Shtar's maneuvers
Racket Matters
Your Rogue's Racket defines your playstyle:
- Thief: DEX to damage, high mobility
- Ruffian: Medium armor, bigger weapons
- Scoundrel: Feint master, CHA-based
Flanking 101
Skill Actions in Combat
| Action | When to Use |
|---|---|
| Feint | Can't get flanking, need flat-footed |
| Create Diversion | Need to Hide, escape, or reposition |
| Tumble Through | Get past enemies to flank |
| Demoralize | If you have good Intimidation |
Action Economy
| Situation | Best Pattern |
|---|---|
| Have flanking | Strike → Strike → Step/Hide |
| No flanking | Feint → Strike → Step |
| Need to reposition | Tumble Through → Strike → Strike |
| Multiple enemies | Strike → Move to new flank → Strike |
Survival Tips
- You're squishy - don't tank hits
- Step (1 action, no AoO) is your friend
- Use Nimble Dodge reaction if you have it
- Stay next to Miyako when possible for protection
Level 6 Abilities
- Gang Up: You can flank an enemy if it's within reach of both you and ANY ally — no need to be on opposite sides! This makes Sneak Attack trivially easy with Miyako nearby.
- Bon Mot (1 action, Diplomacy vs Will): Insult an enemy within 30 ft for -2 to Perception and Will saves. Perfect setup for Elira/Ash spells targeting Will!
- Red-Gold Mortality (Exemplar): When you hit with your weapon ikon, the enemy's healing is reduced (Will save). Use against regenerating creatures!
- Unrivaled Retort (Reaction, 1 MP): When making a Fort/Ref save vs area effect, save at mythic proficiency and counter-Strike the originator on success.
Synergy with Party
- Miyako: Best flanking buddy — with Gang Up, just stand next to her near an enemy for Sneak Attack
- Elira: Bon Mot (-2 Will) + Elira's Fear/Slow = devastating combo. Ask for Invisibility for guaranteed sneak attack
- Ash: Bon Mot weakens Will saves for Ash's Crisis of Faith. Her debuffs make enemies flat-footed
- Shtar: He can Trip at range with certain weapons

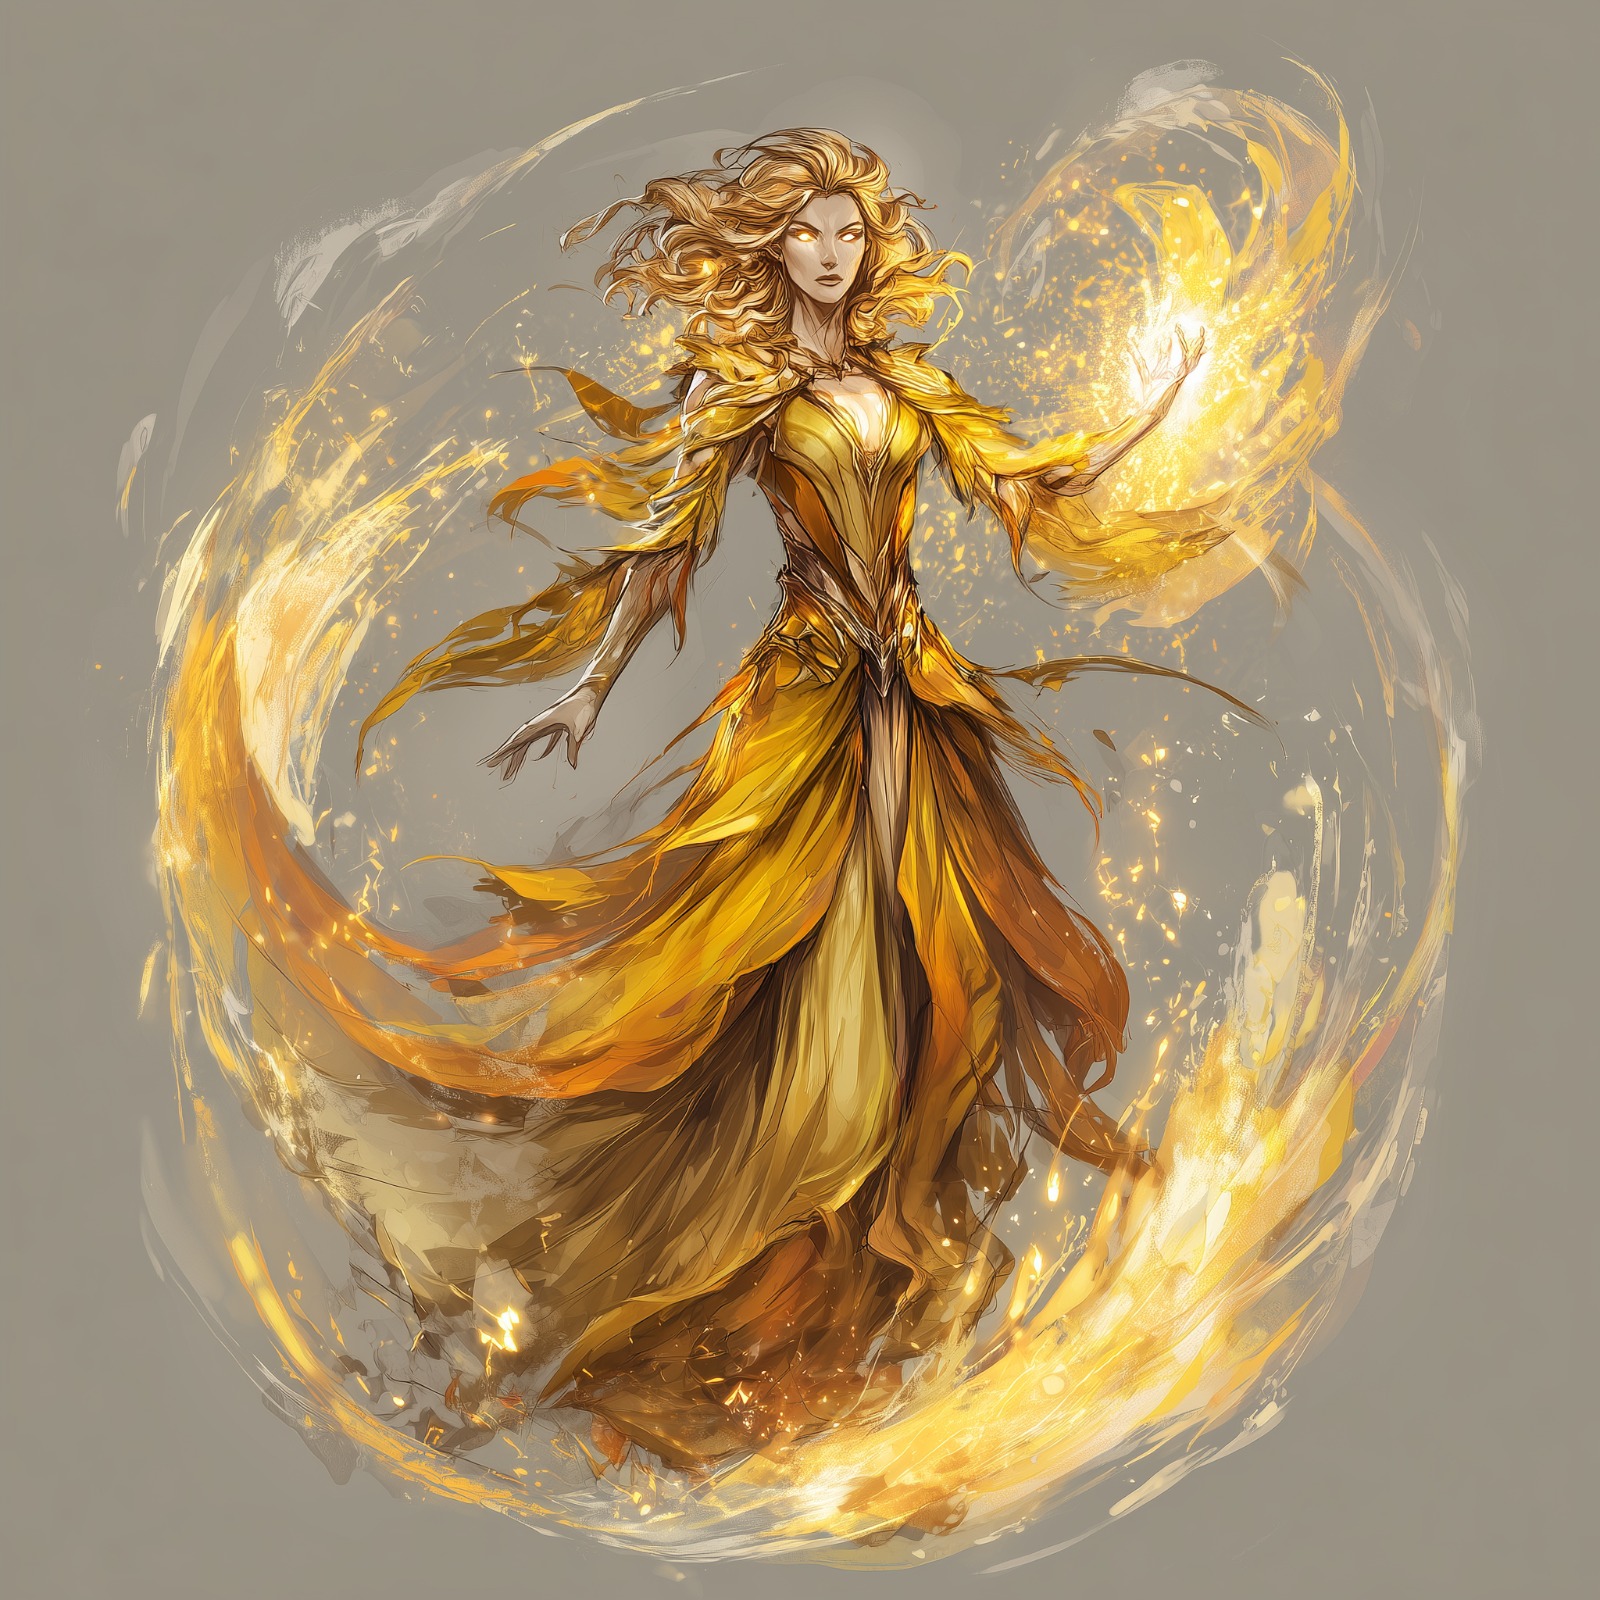
Elira Drakar
Spell Slot Management
Your slots are limited. Don't burn everything on the first fight!
| Situation | What to Use |
|---|---|
| Weak enemies | Cantrips (unlimited!) |
| Medium encounters | Low-level slots |
| Boss fights | Highest slots |
| Emergency | Save 1-2 top slots always |
Buff vs Blast
When to blast:
- 3+ enemies grouped (AoE value)
- Enemy has weakness to your element
- Low HP enemies - finish them off
Top Spells by Role
Buffs (cast on allies):
- Haste - Extra action, amazing on martials
- Heroism - +1/+2/+3 to everything
- Invisibility - Give Aisa free sneak attacks
Debuffs (cast on enemies):
- Slow - Remove enemy actions, huge impact
- Fear - Frightened AoE, scales well
- Synesthesia - Devastating single-target
Damage:
- Fireball - Classic AoE
- Lightning Bolt - Line AoE, good damage
- Magic Missile - Guaranteed damage, no save
Cantrips - Your Bread & Butter
| Cantrip | Best Use |
|---|---|
| Electric Arc | 2 targets, basic Reflex save |
| Produce Flame | Single target ranged attack |
| Daze | Weak enemies, chance to stun |
| Shield | When not casting - +1 AC, can block |
Positioning
- Never be the closest target to enemies
- Have an escape plan (Dimension Door, Fly, Invisibility)
- If enemy reaches you: Step away (no AoO) + defensive spell
Signature Spells
Choose versatile spells as Signature - you can cast them at any level:
- Fireball - Scales damage with level
- Fear - Affects more targets at higher levels
- Invisibility - Longer duration at higher levels
Level 6 Abilities
- Advanced Bloodline — Dragon Breath (Focus, 2 actions): 30-ft cone, 5d6 force damage, Basic Reflex. Free AoE that recharges on 10-min rest! Use instead of spell slots for medium fights.
- Group Impression: Make an Impression on multiple targets at once. Amazing for social encounters — rally crowds or intimidate groups.
- Correct the Story (Reaction, 1 MP): When an enemy crits an attack or save, force a reroll. Save for crits that would down an ally.
- Bon Mot (from Level 4): 1 action, Diplomacy vs Will — inflict -2 to Perception and Will saves. Use before casting Fear or Slow!
Synergy with Party
- Miyako: Haste, Heroism, Enlarge for reach
- Aisa: Invisibility + Aisa's Bon Mot combo — she debuffs Will, you cast Fear/Slow
- Ash: Coordinate buffs - don't duplicate. Correct the Story covers each other's bad saves
- Shtar: Illuminate dark areas for his shots
Ashccara Sanicri
Curse Management
Your Oracle curse is a double-edged sword:
- Minor Curse: Small penalty, safe to use
- Moderate Curse: Bigger penalty, bigger benefit
- Major Curse: Powerful but risky - save for emergencies
Healing Strategy
Heal spell modes:
| Actions | Effect | When to Use |
|---|---|---|
| 1 action | Touch, one ally | Adjacent ally needs healing |
| 2 actions | 30 ft range, one ally OR harm undead | Standard healing |
| 3 actions | 30 ft emanation, ALL allies | Multiple allies hurt, best efficiency |
When to Heal vs When to Act
- Don't heal chip damage - wait until someone is below 50%
- Heal downed allies immediately - they might die
- In-combat buffs/debuffs often better than small heals
- After combat: Use Medicine (Treat Wounds) to save spell slots
Beyond Healing
You're NOT just a healbot! Oracle spells include:
- Bless - +1 attack for whole party (concentration)
- Command - Make enemy drop weapon or flee
- Sanctuary - Protect the squishy caster
- Spirit Link - Constant healing trickle
Mystery Spells
Your mystery grants unique focus spells. Use them! They refill on 10-min rest.
Positioning
- Stay in the middle-back of the party
- Be within 30 feet of everyone for 3-action Heal
- Don't be so far back you can't reach the front
- Stay near Elira - you can protect each other
Action Economy
| Situation | Action Pattern |
|---|---|
| Start of combat | Bless (2 actions) → Move to position |
| Ally badly hurt | Heal 2-action → Cantrip or Move |
| Multiple hurt | Heal 3-action |
| No healing needed | Buff/Debuff spell → Cantrip damage |
Level 6 Abilities
- Gifted Power: Extra spell slot at your highest rank (3rd level). Can only cast mystery-granted spells in it. Use for extra Heal at 3rd rank (3d8+24 for 2-action) or mystery spells.
- Skysage Dedication: Occult cantrips from studying the stars (INT-based). Small utility expansion — detect magic from a different tradition.
- Correct the Story (Reaction, 1 MP): When an enemy crits an attack or save, force a reroll. Invaluable for protecting downed allies from being finished off.
- 3rd Level spells now 4 slots: Crisis of Faith (6d6 mental), Moonlight Ray (5d6 cold attack), Blindness, Heroism — more options per fight.
Synergy with Party
- Miyako: She'll take the most damage - prioritize her. Your Correct the Story can save her from devastating crits
- Aisa: If she goes down in melee, heal her fast. Aisa's Bon Mot weakens Will for your Crisis of Faith
- Elira: Coordinate buffs - you do divine, he does arcane. Both have Correct the Story for crit protection
- Shtar: He's usually safe at range, lower heal priority

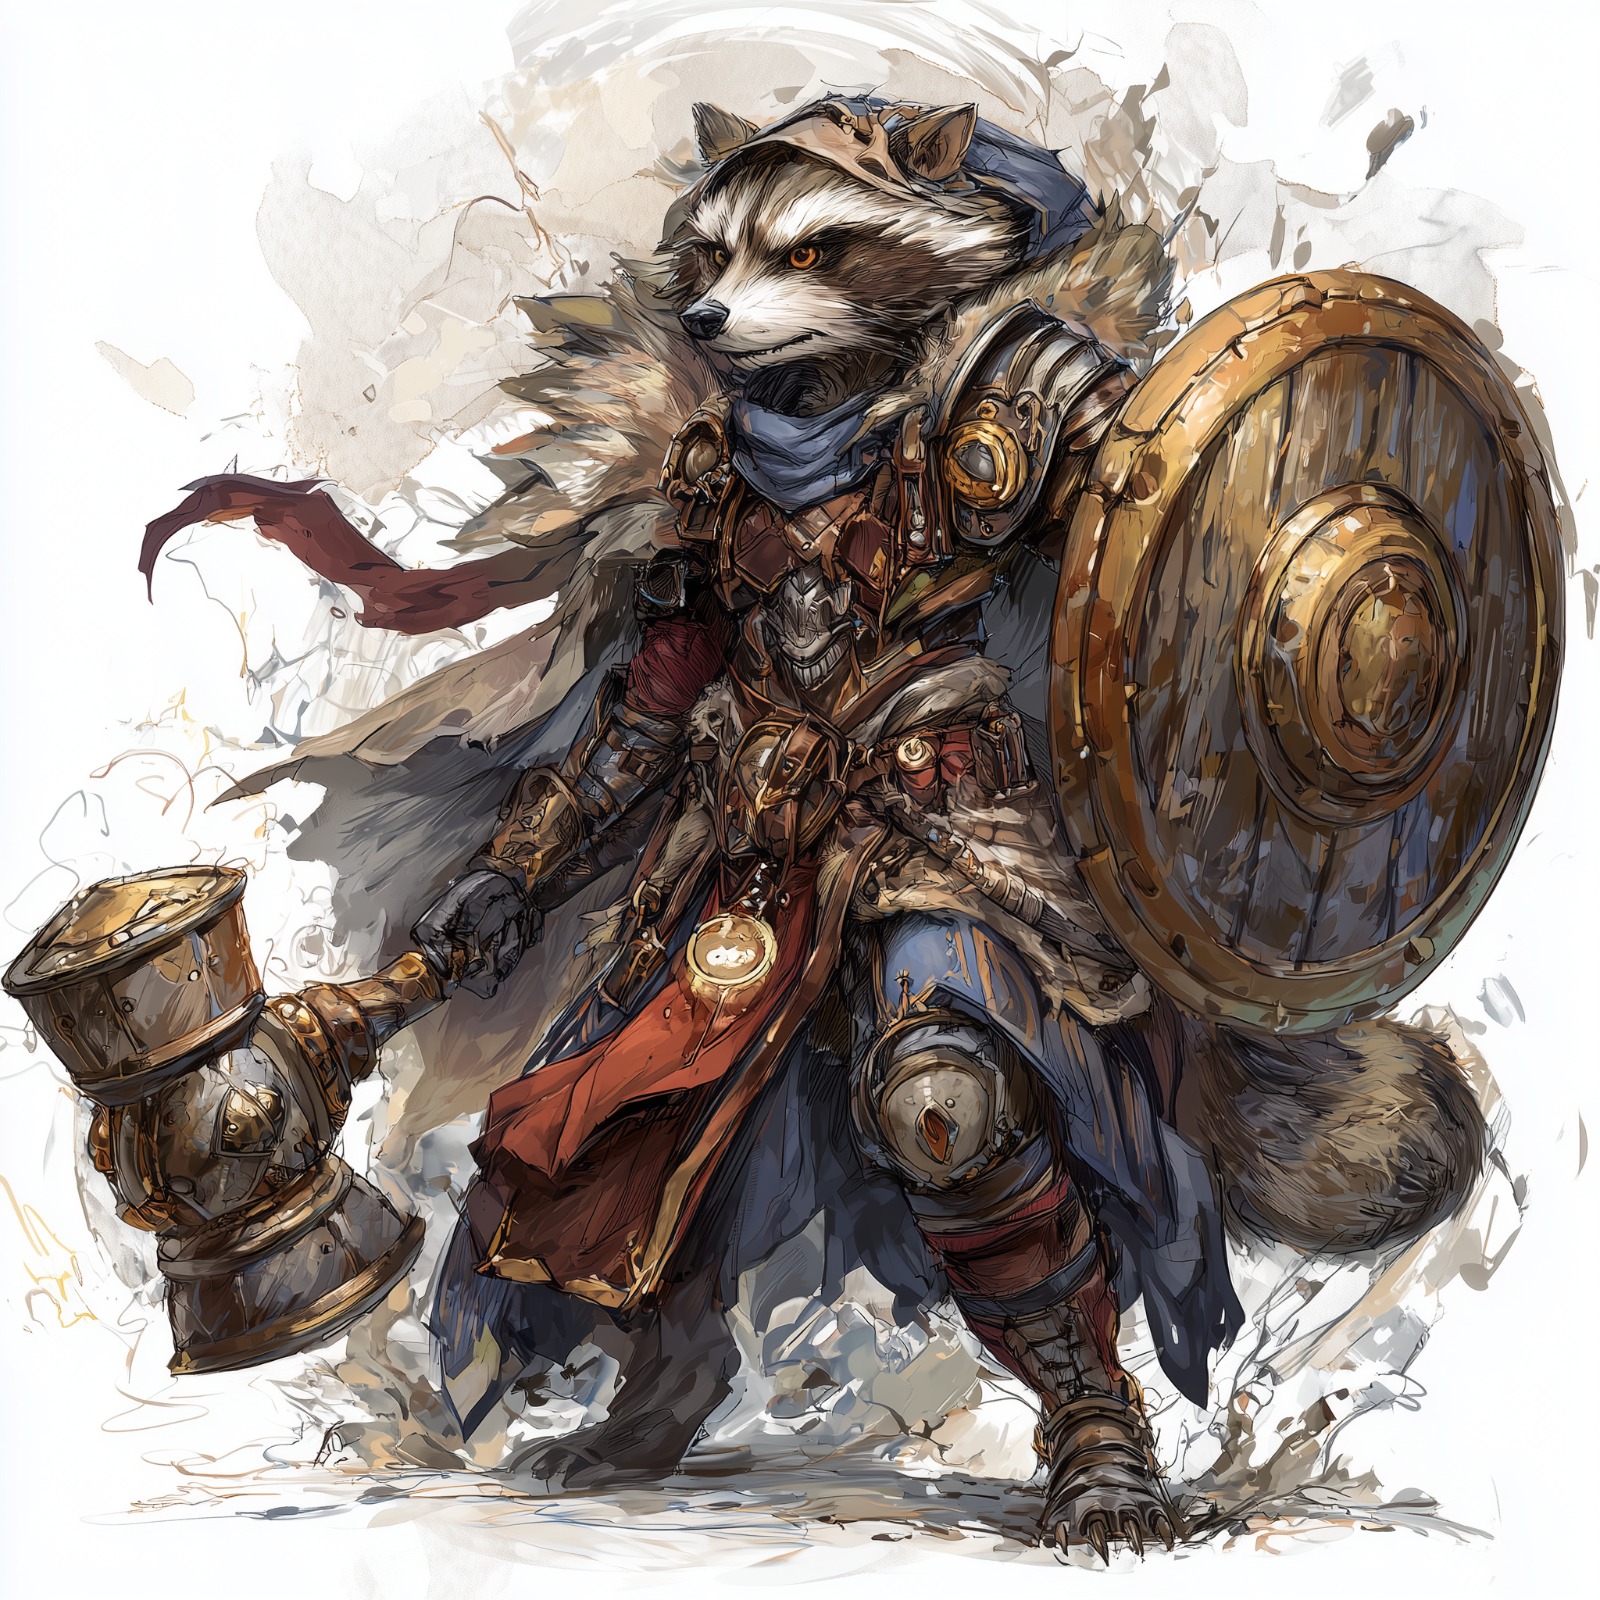
Jakub Shtar
Reload Management
Firearms need reloading. Your action economy depends on your weapon:
- Reload 1: One action to reload
- Reload 2: Two actions to reload (!)
Gunslinger Ways
Your Way determines your special abilities:
- Way of the Drifter: Melee + ranged hybrid
- Way of the Pistolero: Pistol specialist, quick draw
- Way of the Sniper: Long range, big damage
- Way of the Vanguard: Shotgun/scatter specialist
Cover is Your Friend
| Cover Type | Bonus |
|---|---|
| Lesser Cover | +1 AC |
| Standard Cover | +2 AC |
| Greater Cover | +4 AC |
Use Take Cover action to improve cover by one step!
Positioning
- Stay at maximum range - your weapon has reach, use it
- Find cover or elevation when possible
- Keep Miyako between you and enemies
- Don't cluster with Elira - AoE will hit you both
Handling Melee Enemies
If an enemy reaches you:
- Step away (1 action, no AoO)
- Reload if needed
- Fire at point-blank (no penalty for most guns)
Or switch to backup melee weapon if you have one.
Called Shots & Tricks
Gunslingers often get special abilities:
- Risky Reload: Reload + Strike in one action (varies by feat)
- Running Reload: Move + Reload
- Paired Shots: Two attacks for one MAP increase
Action Economy
| Situation | Action Pattern |
|---|---|
| Standard turn | Reload → Strike → Take Cover/Move |
| Special reload feat | Risky Reload → Strike → Strike |
| Enemy approaching | Strike → Reload → Step back |
| Sniping | Aim (if available) → Strike → Reload |
Level 6 Abilities
- Fulminating Shot (1 action, 1/round): Channel magic into your next shot — choose acid, cold, electricity, or fire for +1d6 extra damage. Scales to 2d6 at 12th. Combine with Energy Shot for double elemental damage!
- Munitions Machinist: Create 4 versatile vials during daily preparations via Quick Alchemy. More alchemical ammo options in the field.
- Magical Crafting: You can now Craft magic items. Combined with Munitions Crafter — craft magical ammunition between adventures.
- Unrivaled Retort (Reaction, 1 MP): When making Fort/Ref save vs area effect, save at mythic proficiency (+16). On success, immediately reload and Strike the caster!
- +1 Resilient Shadow Leather: +1 saves, +1 Stealth. Your initiative with Avoid Notice is now +17 — best in the party!
Synergy with Party
- Miyako: She keeps them away from you — her Aim-Aiding armor means she doesn't block your shots
- Aisa: Attack the same target she's flanking. Aisa's Bon Mot + your Demoralize for double debuffs
- Elira: He can illuminate dark areas for you. Coordinate elemental damage vs weaknesses
- Ash: You're usually low priority for heals - stay safe. Your Stealth +17 means you often act first
Party Synergy & Coordination
Optimal Battle Formation
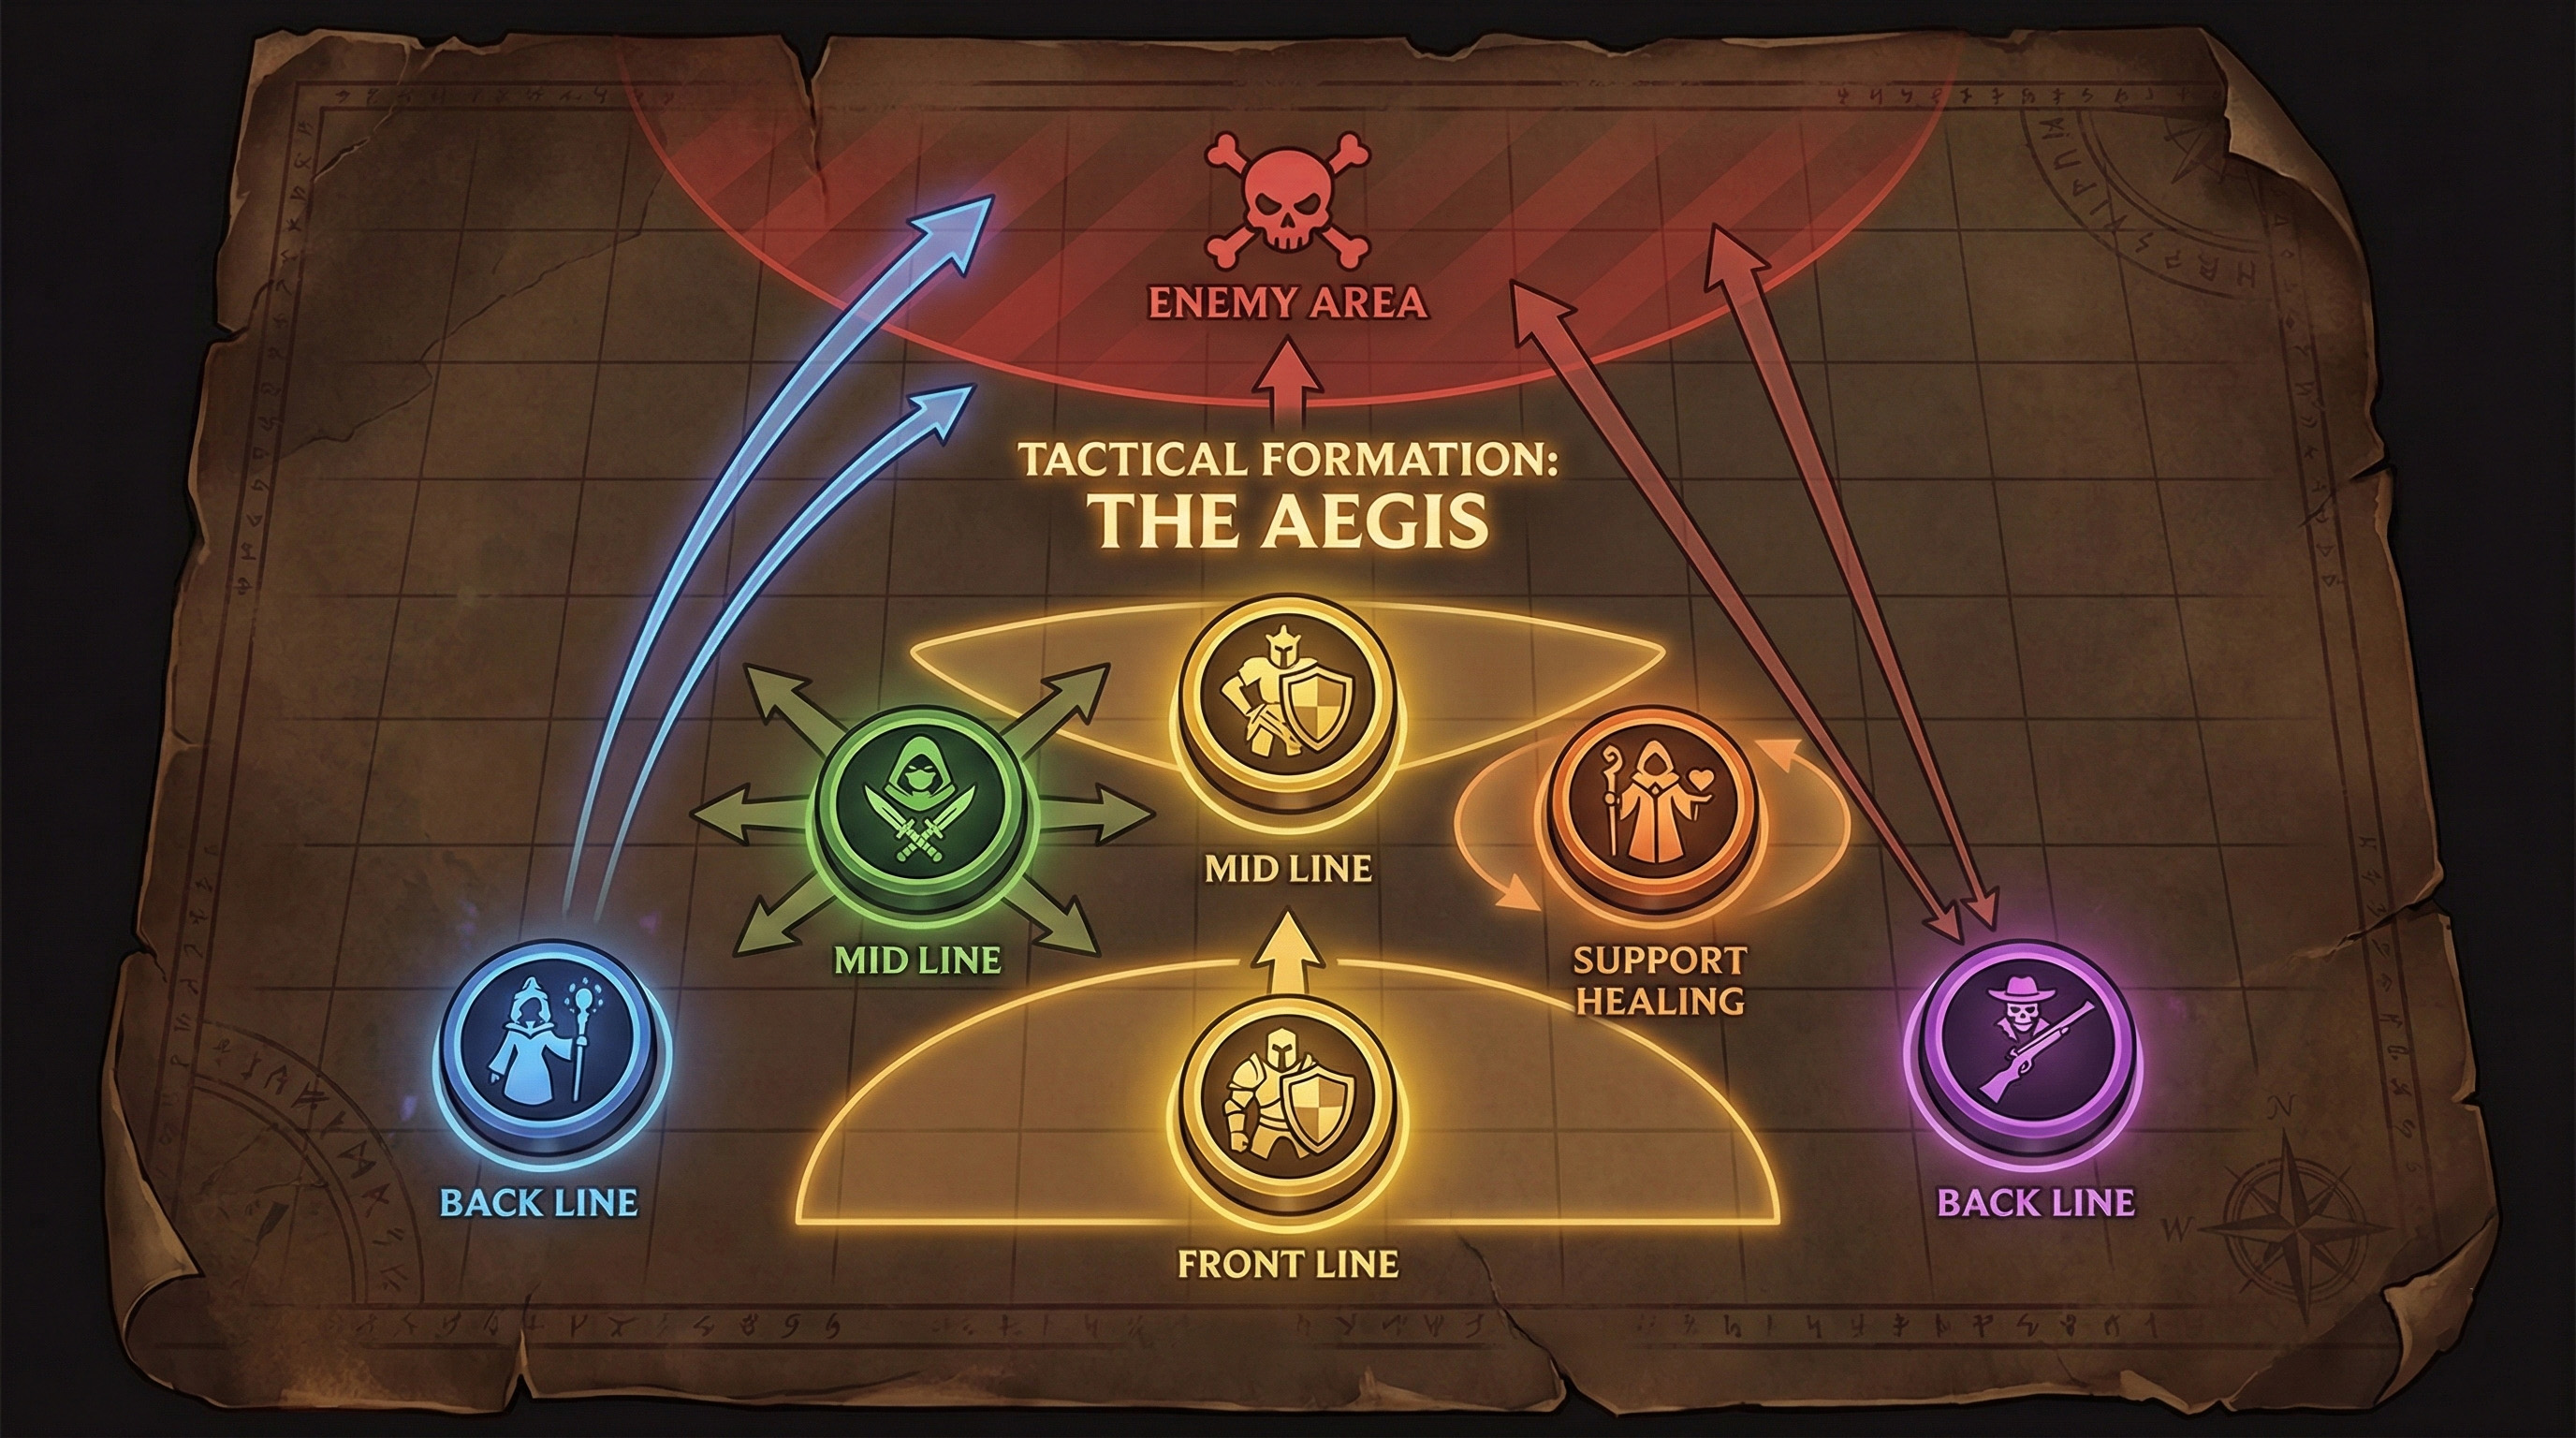
Turn Order Priorities
- Miyako - Establish position, Demoralize, draw attention
- Ash - Bless or buff before others attack
- Elira - Debuff enemy (Slow/Fear) or buff ally (Haste)
- Aisa - Get flanking, Strike with sneak attack
- Shtar - Finish off weakened enemies, focus fire
Communication Calls
| Call | Meaning |
|---|---|
| "Going for flank!" | Aisa moving to flank position |
| "Need heal!" | Below 50% HP, Ash prioritize |
| "Focus [target]!" | Everyone attack this enemy |
| "Weak to [X]!" | Recall Knowledge result, exploit it |
| "Incoming!" | New enemies approaching backline |
| "Covering [name]" | Miyako positioning to protect |
Combo Setups
- Elira → Aisa: Invisibility + Sneak Attack = massive damage
- Miyako → Aisa: Flanking = consistent sneak attack
- Ash → Everyone: Bless first turn = +1 to all attacks
- Anyone → Shtar: Trip enemy = +2 to Shtar's ranged attack
- Elira → Miyako: Haste = extra attack per turn
Emergency Protocols
If someone goes down (0 HP):
- Ash: Heal them immediately (2-action Heal)
- Miyako: Move to protect their body
- Others: Focus fire on the threat that downed them
If Ash goes down:
- Elira: Use any healing items or scrolls
- Miyako: Protect Ash's body, Battle Medicine if trained
- Aisa/Shtar: Eliminate the threat FAST
If surrounded/ambushed:
- Miyako: Move to most threatened ally
- Elira: AoE control spell (Fear, Grease)
- Aisa: Tumble Through to escape
- Shtar: Fighting retreat, Step + Reload + Fire
- Ash: 3-action Heal to keep everyone up